
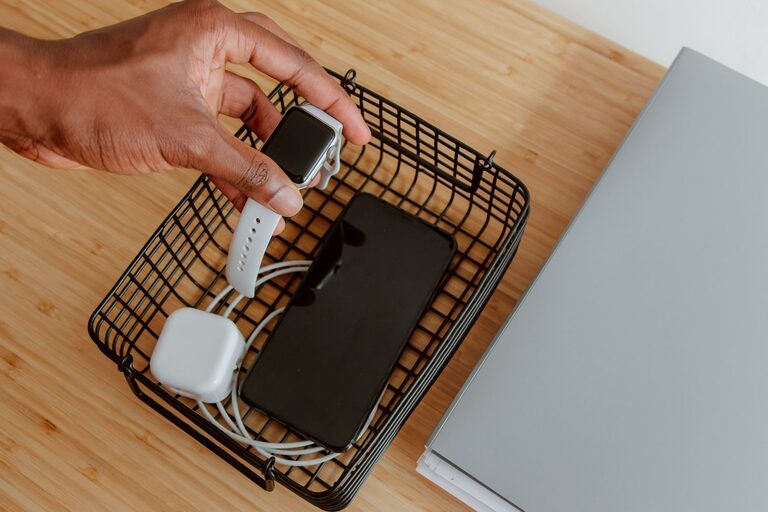
Why Set Up a Charging Station?
Phones, tablets, watches, earbuds, cameras, and other devices often come with separate cables and chargers. Without a dedicated place to charge them, cords can become tangled, outlets can fill up, and devices may be left in different rooms.
A charging station creates one convenient location for powering your everyday electronics. It can help you:
– Keep charging cables organized
– Reduce clutter on desks and countertops
– Find your devices more easily
– Charge several devices at once
– Create a consistent routine for charging
– Keep cords away from walkways and work areas
You do not need expensive equipment or advanced tools. A small shelf, drawer, or section of a desk can work well when it is planned carefully.
Choose the Right Location
Start by choosing a location that is convenient but not in the way. Common options include a home office, entryway table, bedroom nightstand, kitchen counter, or living room shelf.
Look for a spot that has:
– Easy access to a wall outlet
– Enough space for your devices
– Good airflow around chargers
– A stable, flat surface
– Protection from water and heat
– Enough room to connect and remove cables
Avoid placing the station near sinks, bathtubs, heaters, stoves, or direct sunlight. Do not place chargers under blankets, rugs, or piles of clothing, as this can trap heat.
If you charge devices in a bedroom, place the station where cords will not cross the floor or interfere with movement. For a family charging area, choose a central location that everyone can reach without blocking a doorway or busy surface.
Make a List of Your Devices
Before buying accessories, list the devices you want to charge. This helps you select the right number and type of cables.
Your list might include:
– Smartphones
– Tablets
– Smartwatches
– Wireless earbuds
– E-readers
– Cameras
– Portable game systems
– Laptops
– Rechargeable batteries
– Small household devices
Check which connector each device uses. USB-C is common on many newer devices, while some older products may use other connector types. Certain devices, such as smartwatches, may require a special charging puck or dock.
Also note how many devices you usually charge at the same time. A station for one person may need only two or three charging ports. A shared family station may need six or more.
Select a Power Source
The power source is the part that supplies electricity to your chargers. You can use a standard power strip, a multiport wall charger, or a charging hub designed for several devices.
Power strips
A power strip is useful when you need to connect several separate chargers. Choose one with enough outlets, a sturdy design, and a suitable cord length.
A power strip with surge protection may help protect connected electronics from certain electrical surges. However, it is not a replacement for proper electrical installation or careful use.
Multiport chargers
A multiport charger has several charging ports in one compact unit. This can reduce cable clutter and leave more room on the outlet.
When choosing one, check:
– The number of ports
– The connector types
– The total power output
– Whether it supports the needs of your devices
– The size and placement of the charger
Some laptops and tablets require more power than smaller devices. Make sure the charger can provide enough power for the devices you plan to connect.
Charging docks
A charging dock or stand keeps devices upright while they charge. This is useful for phones, watches, and earbuds. A dock can also make it easier to see notifications or locate a device quickly.
Choose a dock that fits your device cases and does not place stress on the connector. Wireless charging stands can reduce the number of visible cables, but they may not work with every phone case or device.
Organize the Cables
Cable management is one of the most important parts of a useful charging station. Even a small number of cables can become messy if they are not secured.
Try these simple solutions:
– Use adhesive cable clips to hold cords in place
– Add reusable hook and loop ties to long cables
– Label both ends of similar cables
– Use a cable box to hide extra length
– Keep one cable type in each section of the station
– Choose cables that are long enough but not excessively long
Labels are especially helpful when several cables look alike. You can label them by device, such as phone, tablet, watch, or camera.
Avoid tightly bending cables near their connectors. Repeated bending can damage the cable over time. Leave a gentle curve where each cable meets the charger or device.
Add Storage for Devices
A charging station works best when it includes a place to set devices down. You can use a tray, small shelf, drawer organizer, or divided box.
Consider creating separate spaces for:
– Devices that are currently charging
– Fully charged devices
– Cables and adapters
– Spare batteries or accessories
– Devices that belong to different family members
If you use a drawer, make sure there is enough ventilation and that the drawer is not closed around warm chargers. A small open tray is often a better choice for active charging.
For a shared station, assign each person a labeled section. This reduces confusion and makes it easier to return devices to the right place.
Follow Basic Safety Practices
Use chargers and cables that are in good condition and designed for your devices. Replace cables with exposed wires, damaged connectors, scorch marks, or loose plugs.
Keep these safety tips in mind:
– Do not overload an outlet or power strip
– Do not connect multiple power strips together
– Keep liquids away from the station
– Do not cover chargers while they are in use
– Unplug damaged equipment
– Use the correct charger for laptops and other high-power devices
– Keep cords away from heat and sharp edges
– Check the station occasionally for unusual heat or damage
A charger may feel slightly warm during normal use, but excessive heat, unusual odors, buzzing, or discoloration can indicate a problem. Disconnect the equipment and replace it if you notice these warning signs.
Set Up the Station Step by Step
Once you have chosen your location and supplies, set up the station in this order:
- Clear and clean the selected surface.
- Place the power strip or multiport charger near the outlet.
- Arrange the charging dock, tray, or storage organizer.
- Connect the necessary cables.
- Secure cables with clips or ties.
- Label cables if needed.
- Test each connection with the correct device.
- Remove unused adapters and extra cords.
- Leave enough space for airflow and easy access.
Avoid plugging in every cable you own. Start with the devices you use most often. You can add more cables later if the station remains neat and easy to use.
Maintain the Charging Station
A charging station needs only occasional maintenance. Once a week or every few weeks, check for loose connections, dust, and cables that have started to tangle.
Remove cables for devices you no longer use. Clean the surface and inspect chargers for damage. You can also review whether the station is still in the best location.
If devices are regularly left at the station after they are fully charged, consider adding a simple routine. For example, each person can collect their devices in the morning and return them to the station at night.
Keep It Simple and Useful
The best charging station is one that matches your daily habits. A basic tray with a multiport charger may be enough for a small household. A larger family may benefit from labeled sections, extra cable storage, and a dedicated shelf.
Focus on accessibility, organization, and safe use rather than appearance alone. With the right location, suitable chargers, and a little cable management, you can create a charging station that keeps your devices powered and your space more orderly.
About the Author